Interested in an Original Painting?
Contact Virgil to inquire.
Interested in fine art prints and
more? Shop Fine Art America
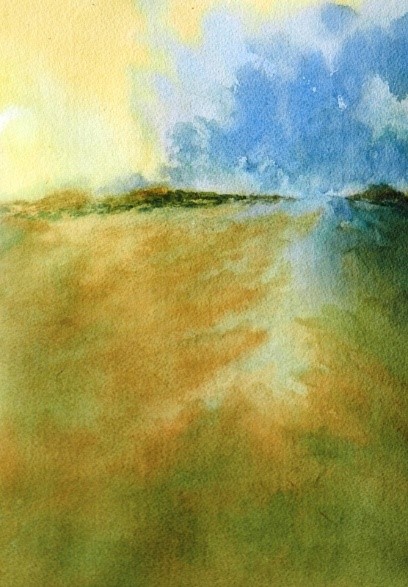
“Elements: Earth”, Watercolor, 11” X 15”
![]() 30 October 2025
30 October 2025
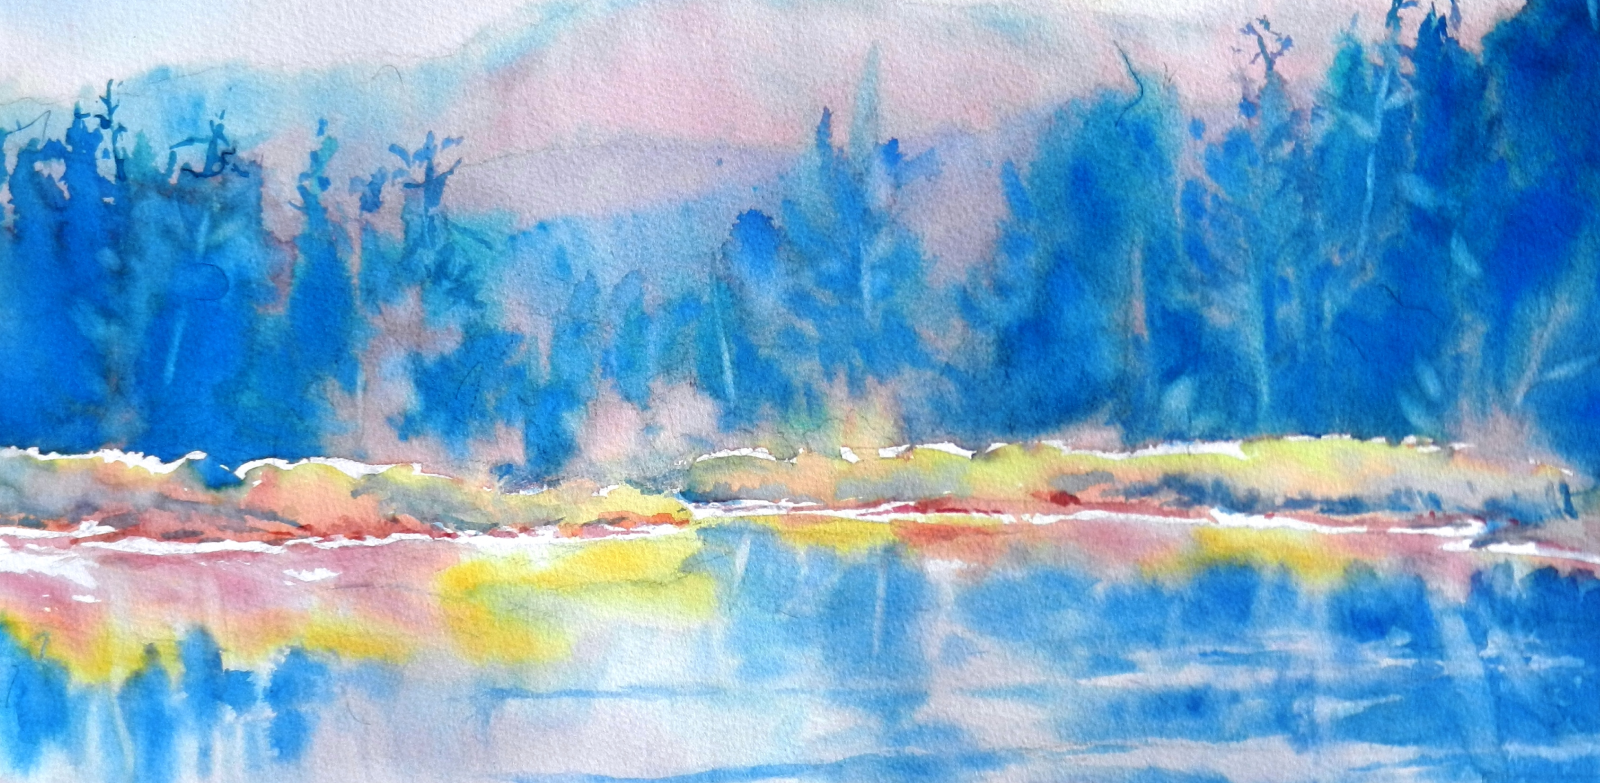
Here is the second Blog posting of our current interrelated series on “Three Planes of Vision”; “Focal Point/Area of Interest” and “Creating Depth”. Today we examine focal point and its cousin, area of interest. Let’s get definitions out of the way:
• Focal Point: A focal point is the primary area or main subject of visual emphasis in watercolor, designed to draw the viewer’s eye and convey the artwork’s central idea or emotion.
• Area of Interest: An area of interest may be used if there is no focal point or, if a focal point is used, an area of interest is a secondary combination of elements that support the focal point, adding balance and guiding the viewer through the composition.
While focal points and areas of interest are fundamental compositional tools in watercolor, they are not absolute requirements. Abstract and non-representational paintings, for example, may not have a focal point or area of interest. The use of focal points and areas of interest depends on the artist’s intent and the painting’s purpose. That said, many categories of watercolor paintings use focal points and areas of interest, and depend on them to tell the artist’s story.

Here are some guidelines to establish a clear, strong focal point:
1. Identify Your Motivation
Ask, “Why am I painting this scene?” The answer often reveals your natural focal point—whether it’s a play of light, a striking color contrast, or a specific emotional element…or if a focal point is even desirable. Here are some compositional guidelines to position a focal point:en
• Rule of Thirds: Position the focal point near intersecting lines dividing the canvas into thirds, i.e., thirds points (vertically and horizontally)
• Avoid Central Placement: Keep the focal point away from the middle lines to prevent static compositions
• Leading Lines: Use roads, rivers, architectural lines or other artistic means to guide the viewer’s eye toward the focal area
2. Build Contrast
• Value Contrast: Place the darkest darks against the lightest lights at the focal point
• Color Saturation: Introduce the most vivid hues in the focal area against muted surroundings
• Edge Sharpness: Use crisp, detailed edges for the focal point and soft, blurred and/or lost and found edges elsewhere

3. Simplify Remaining Supporting Elements
• Reduce Detail: Keep non-focal areas loose and abstract to avoid competition with the focal point
• Muted Backgrounds: Cool down distant elements (e.g., blues/greys) to push them back visually
4. Constantly Review During Creation
• Pause and Assess: Step back periodically while painting to check if the focal point dominates naturally
• Adjust Contrast: Amplify value, color and/or edge differences if the eye wanders elsewhere
In summary focal points and areas of interest are important because they:
• Create visual hierarchy and organization
• Guide the viewer’s attention intentionally through the artwork
• Prevent a scattered or confusing composition
• Help convey the artist’s message or story
Do you consciously look for and plan a painting’s focal point or area of interest?
Contact Virgil to inquire.
more? Shop Fine Art America
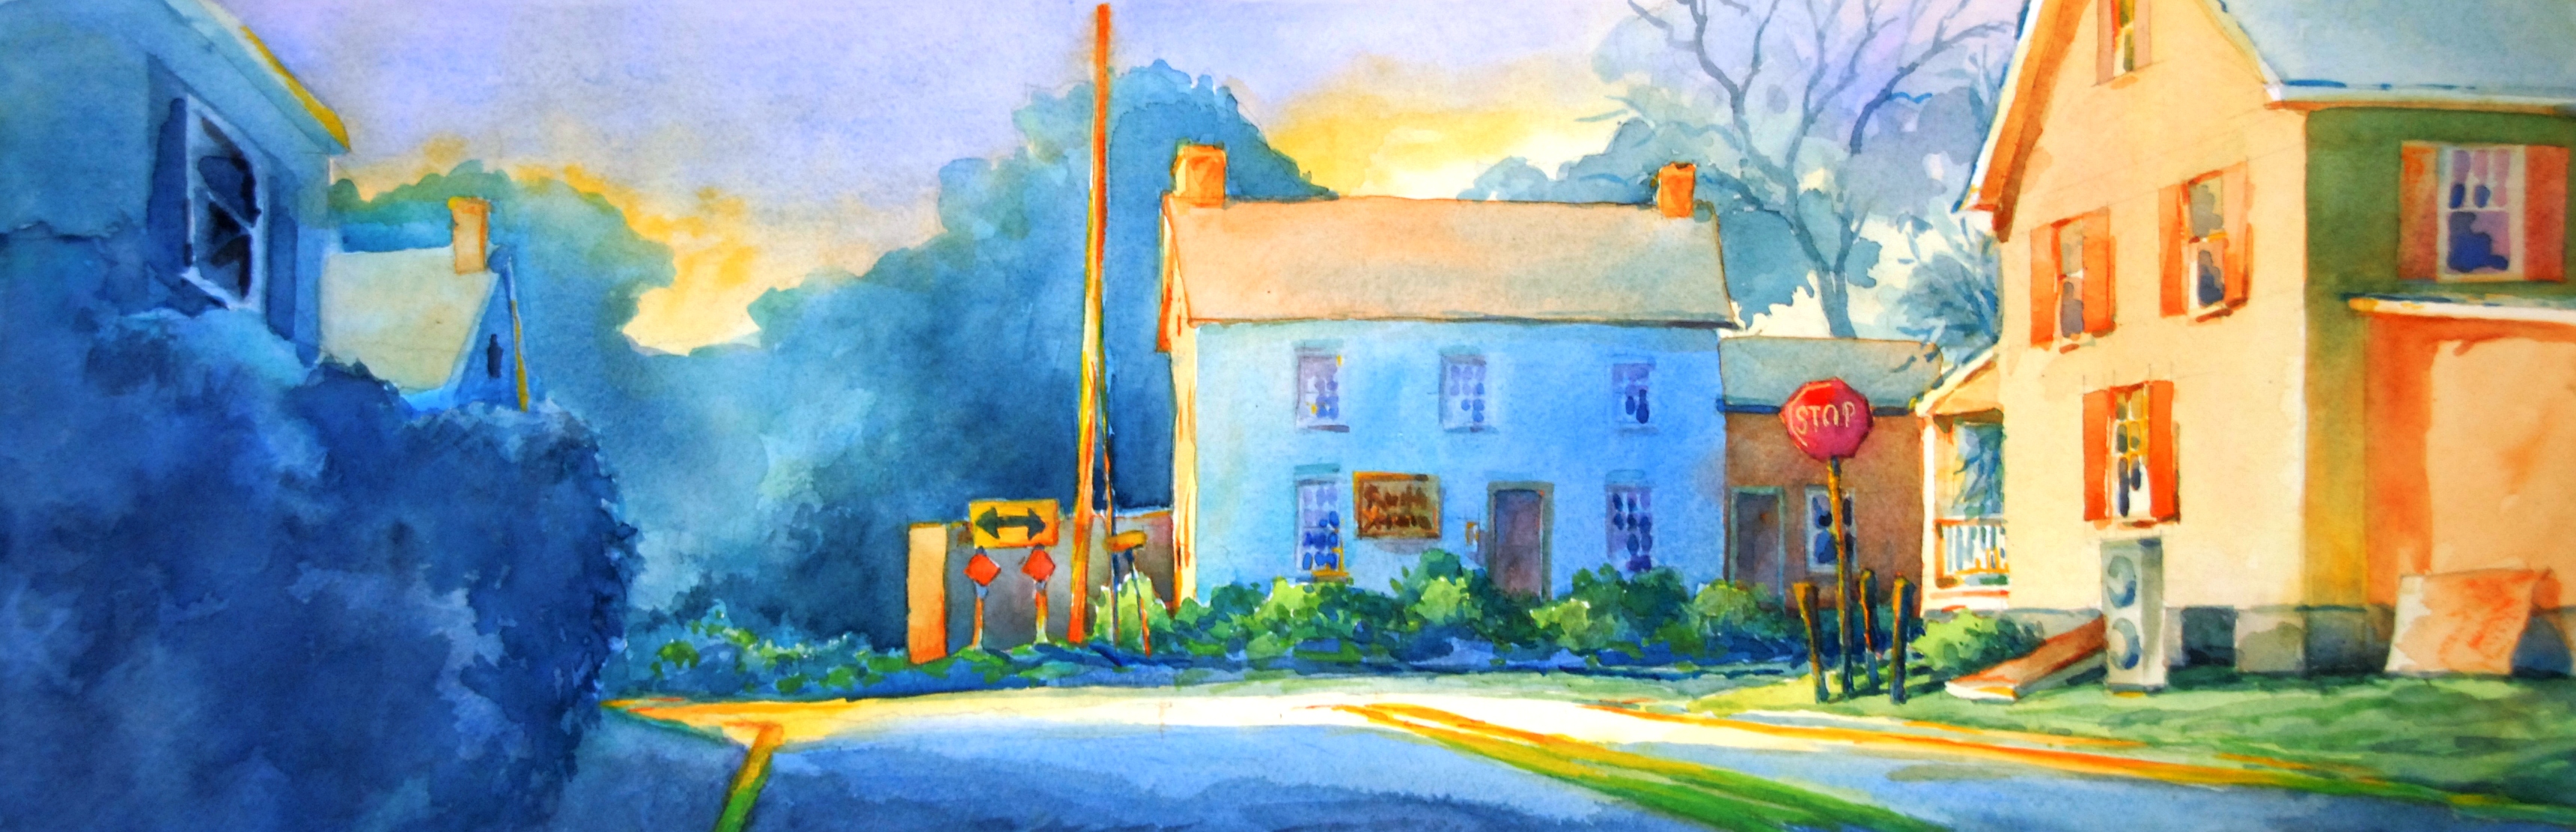
“You Must Go Left or Right” , Watercolor, 30” X 11”